Helpful Hints and How-Tos for Fixed Restorations
Helpful Hints And How-Tos for Fixed Dental Restorations
Please find the below helpful hints and how to guides to assist your patient in getting the most accurate restoration possible. Additional how-to information can be found within its related product throughout our website.
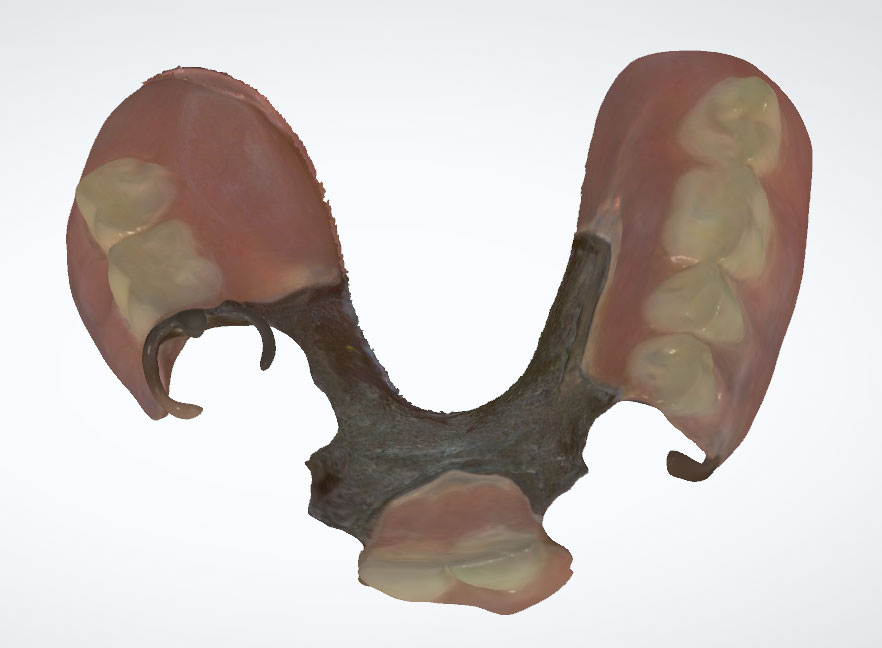
Crown Under Existing Partial
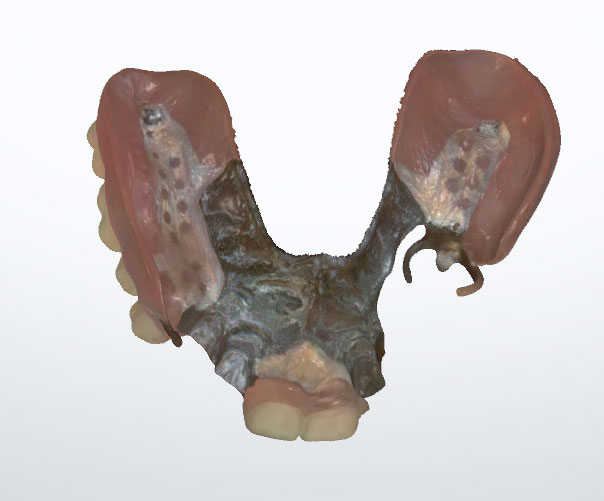
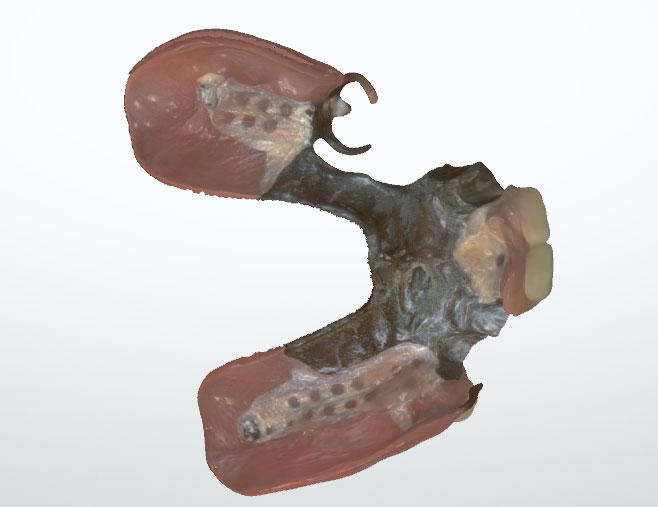
When the patient has an existing partial and declines to provide the partial to our laboratory for crown/bridge fabrication, we can still fabricate the restoration to fit the partial by utilizing a partial index. See the provided step by step illustrated instructions for the creation of a partial index. Please notice that the images labeled Figure 8 through 11 will be fabricated within our laboratory. We also typically fabricate our matrixes using non-precious alloy instead of duralay, to prevent breakage during fabrication of the restoration.

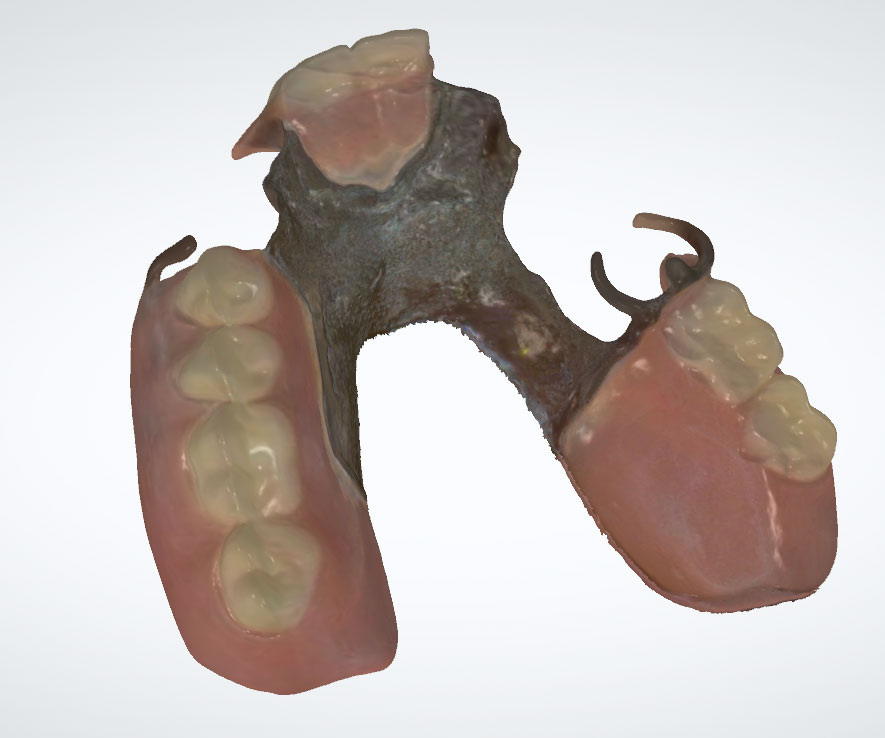
Crown Under Existing Partial for Digital Cases
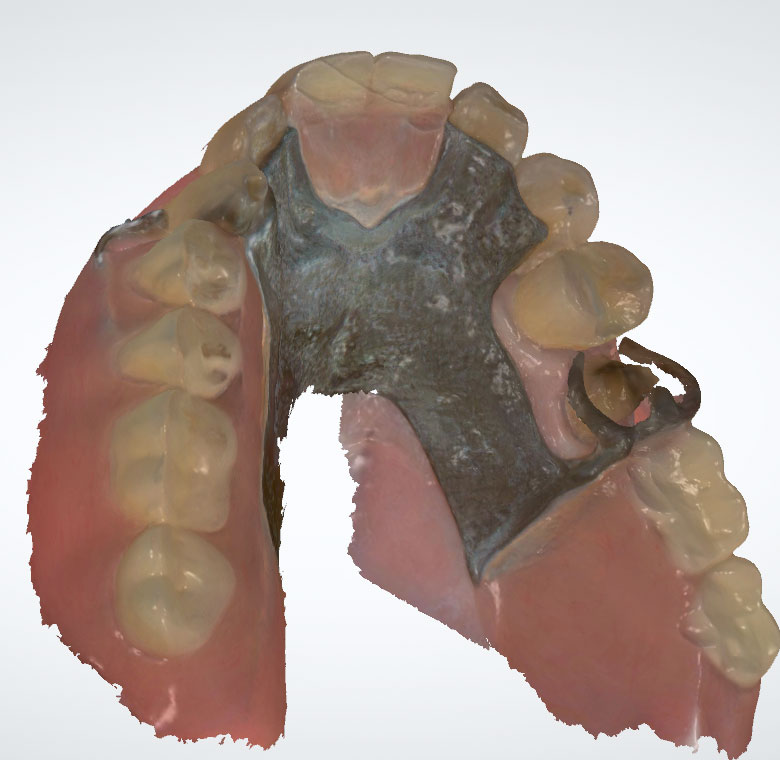
When the patient has an existing partial and you would like to submit the case digitally, it isn’t a problem to design the crown(s) or bridge to fit the existing partial. We can fabricate the restoration to fit the partial by utilizing two additional scans. Scan the prepped abutment(s) and any edentulous pontic units as usual with retraction of the tissue around the abutments. After taking this scan, with the retraction still in place, seat the partial fully in the mouth and scan the partial in the mouth for the entire quadrant or full arch, depending upon the unit(s) being restored. For this scan, capture the buccal and lingual side clasps, occlusal or lingual rests, lingual plate, etc., which are around the unit(s) being restored and capture the partial and dentition adjacent to the unit(s) being restored. When you look at the scan, make sure the rests, major connector, etc. are fully seated in the scan and that the partial’s position did not change during scanning. The second additional scan required is a scan of the partial outside the mouth, on the table. Scan the outside and inside of the partial so that you have one file which includes the partial. It should capture both the inside and outside surfaces of the rests, clasps, connectors without distortion. The scan of the partial in the mouth seldom captures the inside surface of the clasps and rests accurately (which touch the crown or bridge), so this scan allows us to amend the scan of the partial in the mouth to accurately represent all surfaces of the partial.
Views of the scan taken with the partial and the exposed prep in the mouth
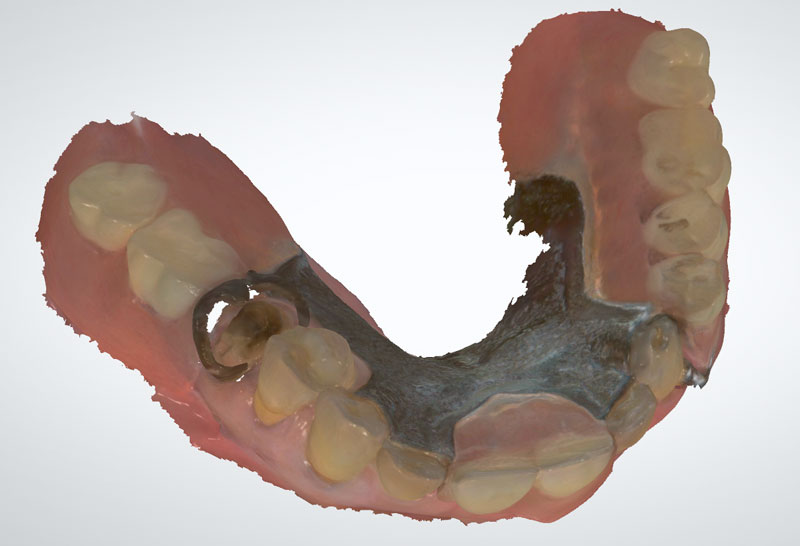
Views of the scan taken with the partial out of the mouth
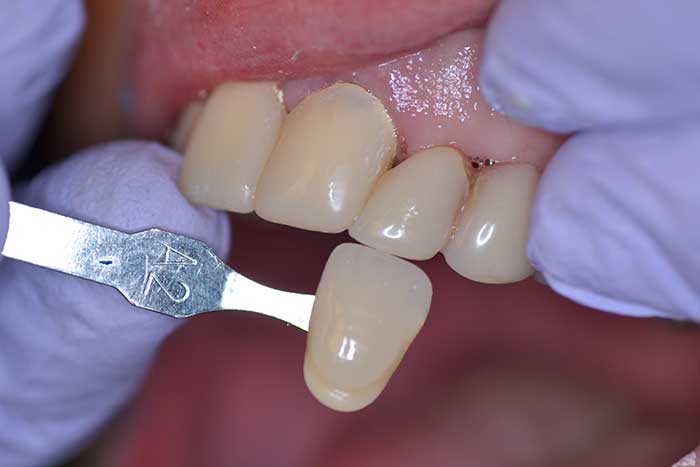
Taking Shade Photos
When taking photos for the laboratory, several things are important to keep in mind. Please check the photos while the patient is still in the office to make sure they’re sufficient for proper shade matching. If the case is for an all-ceramic restoration, please remember to provide a stump shade (shade of the prepared abutment). Send photos to us at digital@globaldentalsolutions.com and be sure to include the doctor’s name and patient’s name in the email.
- The tooth being matched needs to be hydrated. While taking photos, please be sure to keep the tooth wet.
- Make sure the lip is not overlapping the gingival of the teeth or creating a shadow on the gingival area.
- Keep the shade guide tab in the same facial alignment as the tooth being matched. If the shade guide is not in the same alignment as the tooth, the flash will reflect differently off each and alter the comparison.
- Make sure there is not a large flash reflection on either the tooth surface or shade guide tab surface.
- Blurry photos are difficult to use.
- Use as much natural light as possible.
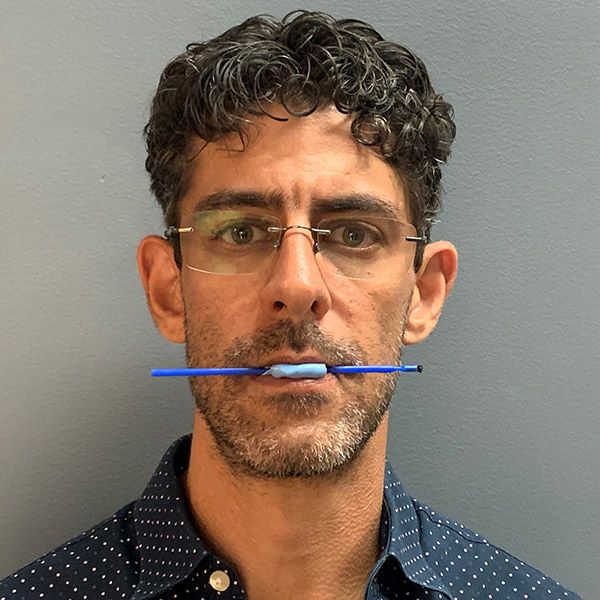
Bite Stick for Setting the Occlusal Plane
We recommend sending bite sticks for multi-unit anterior and full arch restorations. The stick bite is useful for both anatomic wax ups and fabrication of the final restorations. To mount the case using the bite stick, the bite stick is put in place between the models, just as it was in the mouth, and the models are arranged in the articulator so that both the left and right sides of the stick are the same distance from the table top (parallel to the table top). Once the models are mounted using the bite stick, we can now place the incisal edge position/ occlusal plane level to the horizon, regardless of the intraoral condition.
Taking a stick bite is quick and easy. The expense of the minimal time required for making this simple, but valuable tool is far outweighed by the value of preventing inaccurate wax-ups and final restorations.
Bite Stick Technique
1. Find or create a reference to the horizon. Using a level, place a strip of tape on the back of a door, or use the top trim of a window or door, assuming it is level.
2. Have the patient stand in front of the reference to the horizon.
3. Inject syringe material over the lower anterior teeth and ensure it is enough to express onto the facial side when the patient closes
4. Have the patient close.
5. Add more syringe material to the incisal 1/3 of the facial side of both upper and lower anteriors.
6. Place a brush into the syringe material and position it level to the horizon.
7. Cover the stick with extra material for stability.
8. Remove the bite stick from the mouth and send it to us with the other case materials.

What Type Of Smile Does Your Patient Desire?
When sending a diagnostic wax-up, fixed restoration which includes the upper anterior, or upper partial/denture case for which there is no existing dentition or restoration that the patient likes and wishes to duplicate, please utilize the LVI Smile Catalog. The LVI Smile Catalog allows the patient to choose from 12 distinctly different styles. Simply inform us on the Rx which style the patient desires and we will use it for fabrication of the prescribed product. Of course, changes can be made as necessary to fit the specific patient’s desires.
Etiology, Management, and Prevention of Loose Implant Abutment Screws
Abutment-screw loosening has been shown to be the most common dental implant prosthetic complication. Read the article at right for more information about the causes and prevention, as published February 22, 2018, by Dr. Randolph R. Resnik in Dentistry Today®.
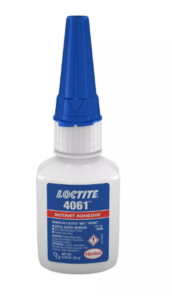
Until it was discontinued, we recommended Nobil Grip, previously available from Preat Corporation, to help prevent the loosening of screws for implant and attachment cases.
Research has shown that Clinicians find the Loctite 4061 material by Henkel to be a sufficient substitute. A link to this product is available here: LOCTITE® 4061 | Henkel Adhesives

Closed and open tray impression techniques
Please find the below closed and open tray impression techniques for implants, courtesy of
![]()
Regarding step 6 of the closed tray technique, you do not need to place the indirect transfers (impression copings) into the impression prior to sending it to us. If you send the transfers separately in a plastic crown box or in a sealed pouch, we will place them inside the impression under our microscopes to ensure accurate and precision placement.

Cementation of zirconia crowns and bridges
For cementation of zirconia, both full contour and layered with porcelain, use an all glass ionomer such as 3M Relyx Unicem 2, GC FujiCEM 2, Kuraray Panvia V5 F2.0; Some of the newer cements have a zirconia primer built in. If so, it will say that the MDP (methacryloyloxydecyl dihydrogen phosphate) primer is built in. Alternatively, you can use a hybrid cement such as Icovlar’s ZirCAD cement, in conjunction with a separate MDP primer.