Intraoral Scanning Best Practices
What to look at while scanning
Look at the greyscale/monochromatic image when scanning. The color image looks much better than the greyscale because the color image is just like a photo or video; it is not what the scanner actually captures. The color image sees through the clear saliva and the scanner does not. The greyscale image is what we actually receive to make the case; the greyscale is the true scan file. Think of a swimming pool with a toy on the bottom; you can see it there at the bottom through the water and that is what the color image sees. The greyscale image cannot see the toy. The greyscale image stops at the surface of the water. So although you see the toy and it looks clearly there (like the margin in the color image), the greyscale image cannot penetrate the water (saliva/ moisture) so it stops at the surface of the pool water. When you scan, you can use the color image for reference, but you need to be looking at the greyscale image to see if the margin is visible. The greyscale image uses texture and if everything is moist, there won’t be any texture difference between the tooth surface, tissue, and sulcus, so the margin will not be clearly defined/ captured.
IO SCANNING BEST PRACTICES
GINGIVAL TISSUE RETRACTION
If the finish line is sub-gingival, achieving apical and lateral gingival tissue retraction is required in order for the optical device to obtain the data. This can be accomplished with retraction cord, retraction paste or in some cases, a laser.

NOTICE: SAME PREP, SAME SCAN TIME.
TOP: Without proper isolation and gingival tissue retraction
BOTTOM: Retraction paste utilized & dry field maintained, providing a clear image

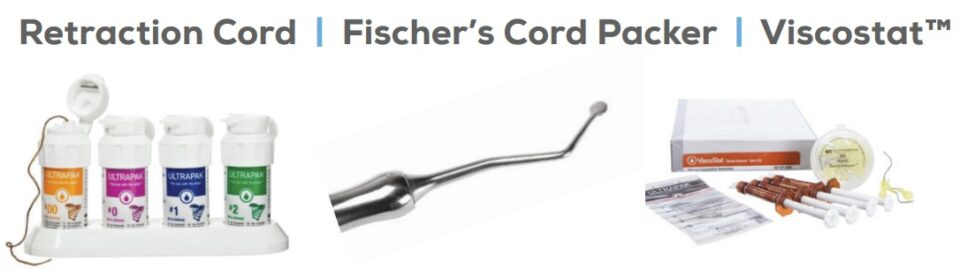
Exposure of the Preparation Margin is Required when Scanning. Retraction cord: gold standard is dual cord technique: 00 followed by a 0 or 1 sized twisted cotton cord. “Pull one Leave one” 00 remains in sulcus while scanning.
FLUID CONTROL
Retraction Paste or Foam Cord: express directly into the sulcus to create lateral tissue retraction, enable a clean dry field and hemostasis
- Fine tip to allow interproximal access
- Express directly into the sulcus
- Combine with cord, a temporary or Comprecap the added pressure assists with lateral retraction
- Allow to sit for the recommended time: 2-5 minutes
- Rinse vigorously and thoroughly to remove any debris that can compromise the image
- Ensure a clean dry field and hemostasis prior to scanning
- Scan immediately before tissue collapses

Additional Methods of exposing the prepared margin.
Laser: Works well if clean and dry; if not, tissue appears wet with tissue debris that creates mountains the camera light needs to see over
Rotary Curettage: Not recommended; difficult to maintain immediate hemostasis and provide clear definition between tooth structure and gingiva
Electro-surgical tissue displacement: Typically does not allow for a clear, clean dry field
Teflon Tape: Works well as a gingival retraction technique
Bite Material inside of Temp: Works well as a gingival retraction technique
ISOLATION – LIP/CHEEK RETRACTION

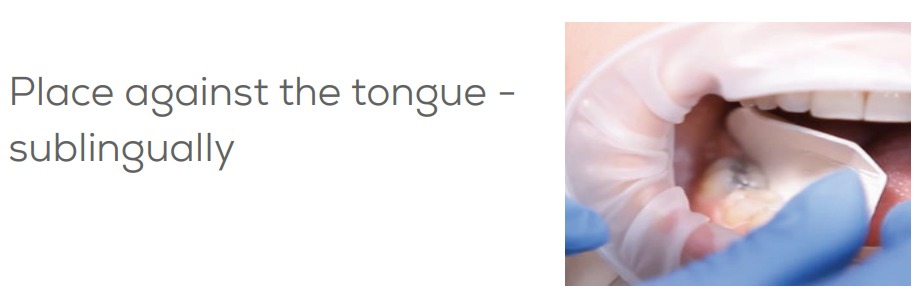
ISOLATION – SALIVA CONTROL
Isolation Systems: Isodry®, ReLeaf™, & Mr. Thirsty™ are options

FOLLOW MANUFACTURERS’ RECOMMENDATIONS
- Follow your scanner manufacturer’s protocols
- Calibrate your scanner as recommended
- Keep in mind all scanners are not the same
- Scan the recommended arch first
- If possible, take the bite registration prior to anesthesia
- Protect the IOS camera lens. Use the protective cover when available
- Plan your scan path strategies
- Avoid using cotton rolls in a buccal vestibule
- Always take a high definition image of your prep if that feature is available
- A 2×2 sponge can be used but avoid fibers as they show up on your scan
CALIBRATION
Equipment upkeep and maintenance is important for peak performance. Most IOS systems recommend to calibrate if any major movements or hits happen, high-temperature changes, room changes, or there is heavy usage of the IOS. Each scanner has its own attachment or holder to do the calibration with.
The following are the recommended calibration times for each scanner type:
– Medit – It is recommended to calibrate after 7 days, but if there is low usage, 14 days may be acceptable.
– iTero – All iTero scanners will auto-calibrate. Users do not need to perform any manual calibration.
– Trios – 3shape recommends calibration at least every 7 days, or more often if the IOS is used a lot. The wands have special calibration tips to use for the calibration.
– Sirona – Dentsply recommends calibration at least once a month.
EDENTULOUS SCANNING
If scanning the edentulous tissue is challenging, try marking with a light coating of IntraOral scan spray, such as VITA’s Powder Scan Spray, or a toothpaste slurry for improved acquisition.